
Android Integration
Version 4 documentationYou’re viewing documentation for Mobile SDK version 4.x.
Version 4 introduces a new architecture and currently supports card payments, Apple Pay, Google Pay, PayPal, PostFinance Pay and Twint.
We are actively working toward full feature parity with version 3.x, with additional payment methods and features planned for upcoming releases.
For full feature coverage, refer to the version 3.x documentation.
SDK integration: Now withtransactionIdTo start using the Android SDK, make sure your backend can generate a version 2 transactionId via the
/v2/transactionsinit endpoint.See our migration guide if you are migrating from Mobile SDK 3.x and transactions v1:
Integration
Dependencies
For Android projects, you can link the repo and dependencies via Gradle as demonstrated below.
allprojects {
   repositories {
      ...
      maven(url = "https://datatrans.jfrog.io/artifactory/mobile-sdk/")
   }
}
dependencyResolutionManagement {
repositories {
...
maven(url = "https://datatrans.jfrog.io/artifactory/mobile-sdk/")
}
}dependencies {
...
implementation("ch.datatrans:android-sdk:4.0.0") // Check release notes for latest version
}
If you are building an Instant App, you may exclude specific packages that are not required for your project. This depends on your payment methods and flows. Please reach out to our support team if you are unsure which packages can be excluded.
implementation("ch.datatrans:android-sdk:4.0.0") { // Check release notes for latest version
   exclude("io.card", "android-sdk")
}
The table below lists all dependencies that can be excluded. Do not exclude a dependency if it is required by a payment method included in your init request.
| Feature | Group | Module |
|---|---|---|
| Google Pay & Credit card scanner | com.google.android.gms | play-services-wallet |
| PayPal | com.paypal.risk | android-magnessdk |
| Twint | ch.twint.payment | twint-sdk-android |
Launching the SDK
Call the library with a transactionId obtained from your server-side init. You can optionally specify additional options and pass tokens for fast checkout using our SavedPaymentMethod classes.
Below is a minimal example of how to start a transaction on Android. For more details, refer to the Android SDK documentation.
Step 1: Create an ActivityResultLauncher with our contract.
private val launcher = registerForActivityResult(TransactionContract()) { result ->
    when (result) {
       is TransactionSuccess -> processTransactionSuccess(result)
       is TransactionError -> processTransactionError(result.transactionException)
       is TransactionCanceled -> processTransactionCancel()
    }
}
Step 2: Configure the transaction.
val transaction = Transaction(transactionIdFromBackend)
// optionally configure transaction.options
Step 3: Launch the SDK.
launcher.launch(transaction)Additional requirements for Android
Credit and debit cards
To enable native 3-D Secure flows for card transactions, an Android App Link must be configured.
Step 1: Configure ThreeDSSdkRelayActivity in your AndroidManifest.xml with an App Link as shown below.
<activity
    android:name="ch.datatrans.api.payment.relay.ThreeDSSdkRelayActivity"
    android:exported="true">

    <intent-filter android:autoVerify="true">
        <action android:name="android.intent.action.VIEW" />

        <category android:name="android.intent.category.DEFAULT" />
        <category android:name="android.intent.category.BROWSABLE" />

        <data android:scheme="https" />
        <data android:host="yourdomain.com" />     <!-- App Link domain -->
        <data android:pathPrefix="/some_path" />   <!-- App Link path -->
    </intent-filter>
</activity>
Step 2: Set TransactionOptions.appCallbackUrl to the configured App Link.
transaction.options.appCallbackUrl = "https://yourdomain.com/some_path"Step 3: Associate your domain with your app. See Android’s documentation on how to set up an associated domain.
Card scanner
The SDK uses Google’s card scanner. To use it, your app must be approved for the Google Pay Production API. Follow the steps in the official Google Pay documentation.
Note: Google Pay does not need to be enabled as a payment method on Datatrans' side; your app only needs to be enrolled in Google Pay Production.
Google Pay
To use Google Pay, your app must be enrolled in the Google Pay program. Follow the steps in the official Google Pay documentation.
You also need to configure TransactionOptions.googlePayConfig:
transaction.options.googlePayConfig = GooglePayConfig.Builder(
    supportedNetworks = listOf(
       PaymentMethodType.VISA,
       PaymentMethodType.MASTER_CARD,
    ),
    merchantName = "Your shop"
).build()
PayPal and PostFinance Pay
If you are integrating PayPal or PostFinance Pay, you must add specific entries to your app manifest. Missing these will result in runtime issues.
These payment methods use an external process. After completion, the user is redirected back to your app via a callback. To receive this callback, define the Datatrans relay activity with an intent filter using a custom scheme.
The scheme must be unique to your app. Do not use standard protocols such as http, mailto, or generic names like ticket.
<activity
    android:name="ch.datatrans.payment.ExternalProcessRelayActivity"
    android:exported="true">
    <intent-filter>
        <action android:name="android.intent.action.VIEW" />
        <category android:name="android.intent.category.DEFAULT" />
        <category android:name="android.intent.category.BROWSABLE" />

        <data android:scheme="your.package.name.dtsdk" />    <!--Your scheme without :// -->
    </intent-filter>
</activity>
Also define the callback scheme in your transaction options:
transaction.options.appCallbackScheme = "your.package.name.dtsdk" // Your scheme without ://After the transaction
After completion, inspect the TransactionResult returned by your ActivityResultLauncher:
TransactionSuccesscontains details such as the payment method and token (if created)TransactionErrorcontains the error code and messageTransactionCanceledindicates that the user canceled the transaction
We also send the transaction result to your configured webhook. See Webhook for details.
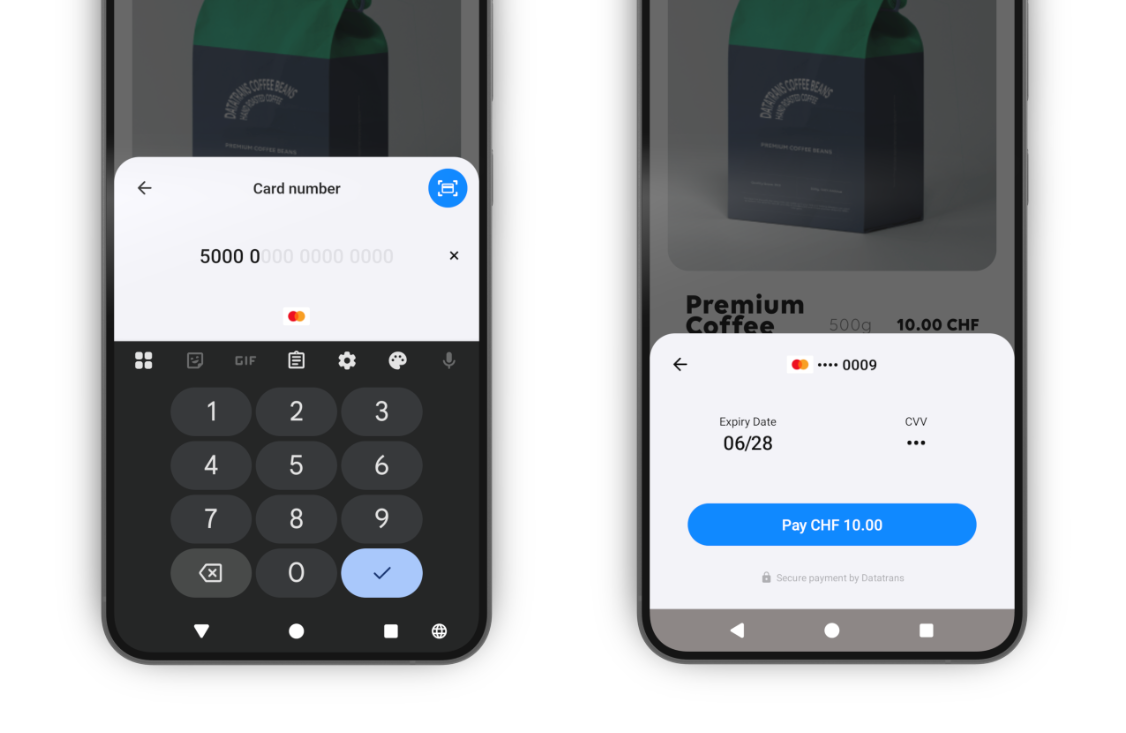
Styling the SDK
You can specify an accent color that the SDK uses to highlight certain key interface elements, such as the card scan button and the Pay button.
You can define an accent color used to highlight key interface elements, such as the card scan button and the Paybutton.
Set the color in your project’s colors.xml (including both values and values-night).
<resources>
    ...
    <color name="dtpl_accent_color">#FF0000</color>     <!-- red accent color -->
</resources>
By default, the SDK uses a blue accent color, as shown below.
Updated 2 months ago