Styling
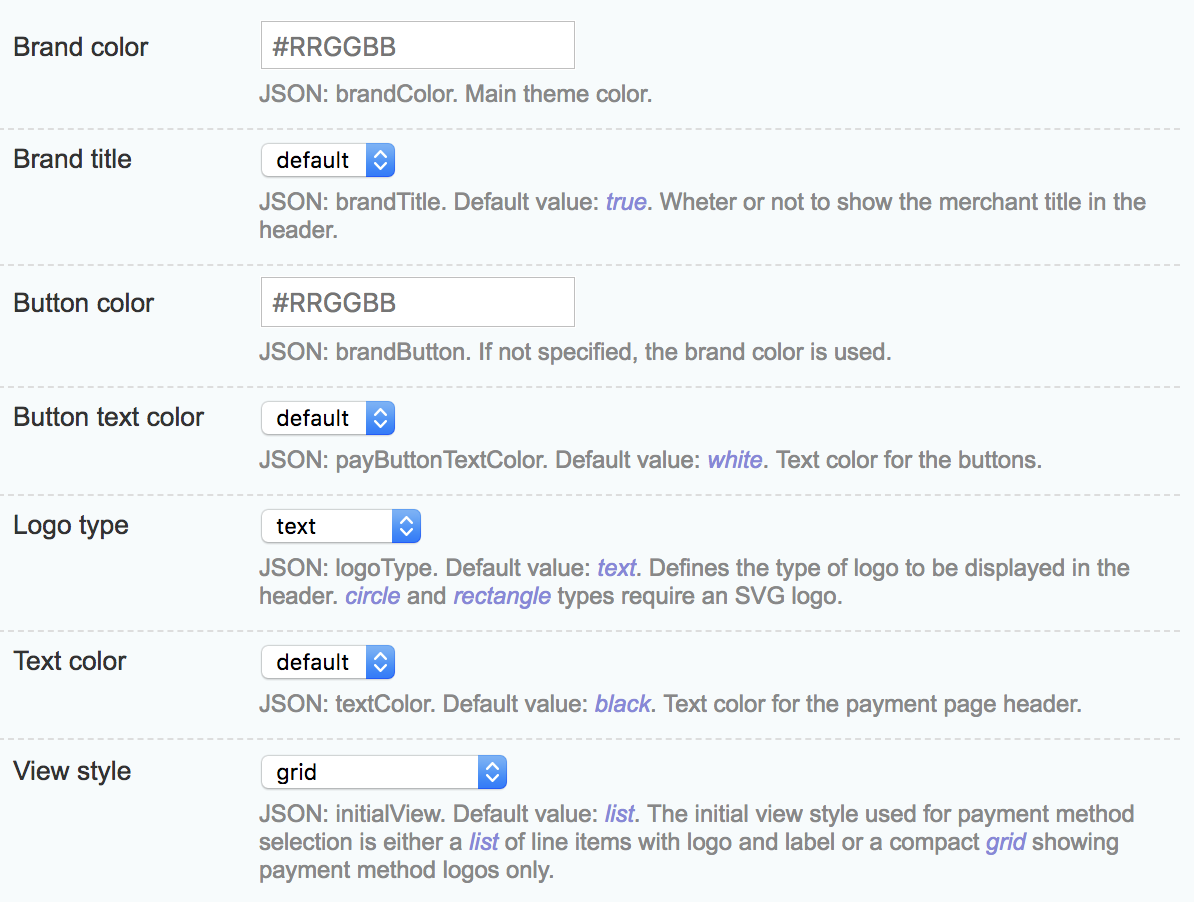
Apply your own corporate identiy to the Payment Page using the Webadmin Tool or even dynamically per reqeust with the themeConfiguration parameter.
Style Editor in the Webadmin Tool

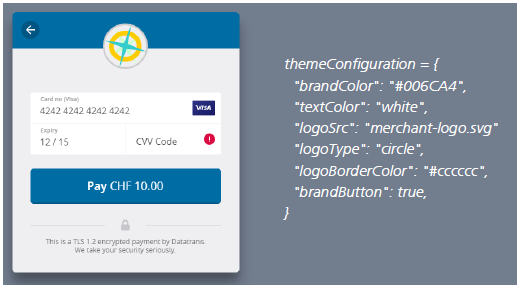
Using the themeConfiguration Parameter
themeConfiguration Parameter
Parameter descriptions
Custom styling of the payment page is possible by using the themeConfiguration parameter. The following configuration options are available:
Parameter | Description |
|---|---|
brandColor | The color of your brand. Values: |
textColor | The color of the text in the header bar if no logo is given. Values: |
logoType | The header logo's display style.Values: |
logoBorderColor | Decides whether the logo shall be styled with a border around it, if the value is true the default background color is chosen, else the provided string is used as color value. Values: |
logoSrc | An SVG image (scalability) provided by the merchant. The image needs to be uploaded by using the Datatrans Web Administration Tool. |
brandButton | Decides if the pay button should have the same color as the brandColor. Values: |
initialView | Wheter the payment page shows the payment method selection as list (default) or as a grid. Values: |
Lightbox Mode
Since the themeConfiguration parameter accepts a JSON object the data attribute has to look like:
data-theme-configuration='{
	"brandColor": "#006CA4",
	"textColor": "white",
	"logoType": "circle",
	"logoBorderColor": "#cccccc",
	"brandButton": true,
	"logoSrc": "merchant-logo.svg"
}'
Updated 3 months ago